Everyone loves taking photos, but not everyone thinks about turning it into a business. For you, it might be more than just a hobby. Friends compliment your shots, people ask you to bring your camera to events, and deep down you wonder—could I actually make money doing this?
The idea is exciting, but then the real questions come up. What type of photography should you choose? How do you set your prices? And where will you find paying clients?
The truth is, every successful photographer once asked these same questions. The difference is, they found a plan and took the first step.
This guide will help you do the same by showing you step by step how to start a photography business.
Key Takeaways
- Startup costs usually begin at $1,000–$2,500 for basic gear.
- Choose one niche to focus on, like weddings, portraits, or products.
- Set clear prices that cover your time, gear costs, and editing.
- Happy clients and good service bring repeat work and referrals.
Step 1: Choose your photography niche
The first step in starting your photography business is choosing what type of photos you want to take. This is important because it decides what clients you’ll work with, how your portfolio will look, and how you promote yourself.
Trying to do everything can make it hard for people to see you as an expert.
Each niche has its own kind of clients, work hours, and income:
| Niche | Who hires you | Good to know |
|---|---|---|
| Weddings & engagements | Couples, families | Good pay, but weekends are busy |
| Portraits & headshots | Families, professionals | Regular work and repeat clients |
| Events | Companies, schools, groups | Jobs can be small or large |
| Product & food | Shops, restaurants, brands | High demand from online stores |
| Real estate & interiors | Agents, developers | Steady projects if the market is active |
| Content & social media | Influencers, startups, brands | Quick shoots, smaller but frequent work |
When choosing, ask yourself three simple things: What do I enjoy shooting? Is there enough demand in my area? Will clients pay enough for me to make a profit?
It’s best to start with one main focus. After you build some experience and clients, you can expand into other areas if you want.
Step 2: Build your portfolio
After you choose your niche, the next step is to make a portfolio. This is a small collection of your best photos that shows clients what you can do. People often look at your work before they even reach out, so your portfolio should be clear, focused, and simple for anyone to view.
If you don’t have paid jobs yet, you can still build a portfolio by:
- Taking free or low-cost photos for friends or family.
- Working with local models, small shops, or creators.
- Doing personal projects that show the style you want to offer.
Keep your portfolio focused. If you want to do weddings, show wedding photos. If you want to shoot products, focus on product photos only.
Avoid mixing in random pictures that don’t match your main niche. A focused portfolio makes you look professional, builds trust, and helps attract the right clients more quickly. You can also keep both an online portfolio for sharing and a printed one for meetings. This makes you look ready and confident.
For online portfolios, you can use Instagram, Behance, 500px, or your own website. These make it easy for clients to see your work.
Step 3: Set your pricing & packages
After building your portfolio, the next step is to set your pricing. Developing a clear pricing strategy is important because it tells clients what they’ll get and helps you earn fairly.
Without proper rates, you may end up doing a lot of work without making enough money.
Start by looking at your costs. Think about your camera equipment, editing software, travel, and the time you spend both shooting and editing. Add these together to get a clear idea of how much you need to cover.
Then check what other photographers in your area are charging. This will help you see the market average and give you a good range to work with.
You can charge in different ways:
- Hourly rate for short events.
- Per session for simple shoots like portraits.
- Packages for bigger jobs like weddings or product shoots.
Packages work well because they give clients simple choices and let you offer extras that increase your income.
Here’s a simple example of packages:
| Basic Package | Standard Package | Premium Package | |
|---|---|---|---|
| Duration | 1 hour shoot | 2 hours shoot | 4 hours shoot |
| Includes | 10 edited photos | 25 edited photos | 50 edited photos + album |
| Price | $150 | $300 | $600 |
Keep your pricing clear and easy to understand. Simple options make it easier for clients to choose and book you.
Step 4: Write a photography business plan
Many people think a business plan is only for banks or investors. But that’s not true. A plan is mainly for you.
It helps you understand your services, your clients, and how you'll make money. Think of it like a small map that guides your steps and prepares you for the future.
You may ask: How do I write a photography business plan? What should I put in it? How long should it be?
The answer is—you don’t need to make it complex. Start with a short version. One or two pages are enough to get started. You can always improve it later when your business grows.
Write down a few key things: What type of photography you'll offer, who your clients are, how much you'll charge, and what costs you must cover. Also, add how you plan to find clients—through social media, a website, or referrals.
If writing feels hard, you can use free AI tools like Bizplanr. It asks simple questions and makes a draft plan for you. It may not be ready for banks, but it’s perfect to test your idea and get moving.
Get Your Business Plan Ready In Minutes
Answer a few questions, and AI will generate a detailed business plan.
Step 5: Register your business and handle legal setup
Once you know your services and prices, the next step is to make your business official. This may sound a bit heavy, but it’s simple if you do it step by step. Registering your business and handling legal setup will protect you and also make clients trust you more.
Start with the licenses or papers you may need to run a photography business. These can change based on where you live, but the common ones are:
- General business license – Needed to run most small businesses.
- Tax registration certificate – If you need to collect sales tax from clients.
- Home occupation permit – If you’re running your studio from home.
- Photography permit – Sometimes needed if you shoot in public places like parks.
Also, always use contracts. A simple contract explains what you’ll deliver, when you’ll deliver it, and how much the client will pay. This keeps everything clear and safe.
Finally, get business insurance. It can cover your gear, accidents during shoots, or other problems. Insurance also shows clients you’re professional.
Step 6: Get the right equipment and tools
To run a photography business, you need the right gear and tools. This doesn’t mean you must buy everything at once or spend too much in the beginning.
Start with the basics and upgrade slowly as you get more clients. Good equipment helps you work smoothly and deliver photos that look professional.
Here's the list of some common tools and their rough pricing:
| Tool / Equipment | Why You Need It | Rough Price Range |
|---|---|---|
| Camera | Your main tool for taking photos | $500 – $2,000 |
| Lenses | For different views and styles | $150 – $1,000 each |
| Lighting | To shoot indoors or in low light | $50 – $300 |
| Tripod | Keeps shots steady and sharp | $30 – $150 |
| Memory & Storage | To save and back up your photos | $20 – $200 |
| Editing Software | For fixing and improving photos | $10 – $30 per month |
| Client Tools | To manage contracts, invoices, bookings | $10 – $40 per month |
| Website Builder | To show your portfolio online | $10 – $30 per month |
Start small. You can also rent or borrow gear at first. When your business grows, invest in better cameras, more lenses, and stronger tools.
Step 7: Market your photography business
After setting up your business, you need people to know about it. Marketing is how you find clients and get work. It doesn’t have to be grand or expensive. The goal is to show your photos so that people can see them.
The following are some successful ways to market your business:
- Website: Make a simple website with your best photos, prices, and contact information. A website presents you professionally.
- Social media: Post pictures on Instagram, Facebook, or TikTok. Post often, use local hashtags, and mention clients if they consent.
- Google My Business: List your business on Google so locals can find you when searching for a photographer.
- Word of mouth: Get your friends, relatives, and satisfied clients to speak about you. This generates good leads.
- Local connections: Meet wedding coordinators, event venues, retail stores, or estate agents. They need photos and can also refer you to others.
When you post, use your best content. A few excellent pictures will receive more views than many average ones. Use short and friendly captions to go with your posts.
Marketing takes time, but if you continue to do it, someone will begin to notice your work and hire you.
Step 8: Manage operations and client experience
Taking photos is only one part of your business. You also need to stay organized and give clients a good experience. If clients are happy, they’ll book you again and tell others about your work.
To keep your business running smoothly, focus on these basics:
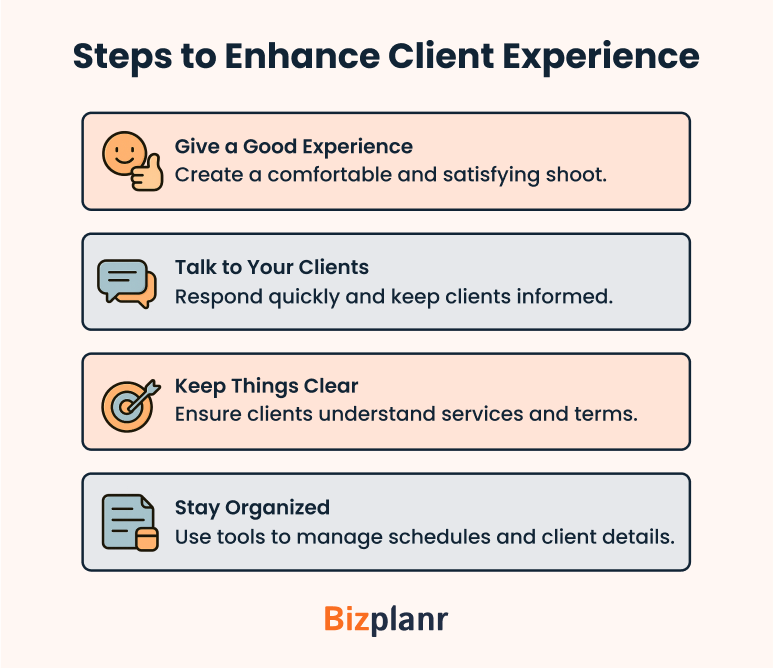
Give a good experience
During the shoot, be friendly and make clients feel comfortable. After the shoot, send photos on time and ask if they are happy.
Happy clients will remember you, book you again, and tell their friends about you. Good client experience is one of the best ways to grow your business.
Keep things clear
When someone books you, explain:
- What they’ll get
- How much they’ll pay
- When they’ll get the photos
Always use a simple contract. It protects both you and your client.
Talk to your clients
Reply to messages quickly. Confirm bookings early. Send small updates like, “Your photos will be ready tomorrow.” This shows you care and keeps clients relaxed.
Stay organized
Good planning makes your work easier:
- Use a calendar for shoots and deadlines
- Keep notes about each client
- Use apps to send contracts, invoices, and payments
Step 9: Launch your business and grow
Once you’re ready, it’s time to launch your photography business. This means start taking paid jobs and letting people know you’re open for work. Don’t wait for everything to be perfect. It’s better to start small and improve as you go.
Begin by announcing your launch. Share the news on your website and social media. Tell your friends, family, and past clients that you‘re now taking bookings.
To get your first clients, you can also give a small discount or a short free shoot.
In the early days, focus on giving clients a great experience. Happy clients will tell others about you, and word of mouth is one of the fastest ways to grow. Deliver quality photos, keep your promises, and stay professional at all times.
As you start getting work, keep track of your bookings, income, and costs. Notice what brings in more clients. If social media gives you more jobs, put more time into it. If referrals bring better results, focus on keeping clients extra happy.
Growth takes time. Start simple, give your best, and slowly raise your prices or add new services as your business becomes steady.
Common mistakes to avoid
Starting a photography business is exciting. But beginners often make mistakes. If you know them early, you can avoid problems and grow faster.
Here are some common mistakes to avoid:
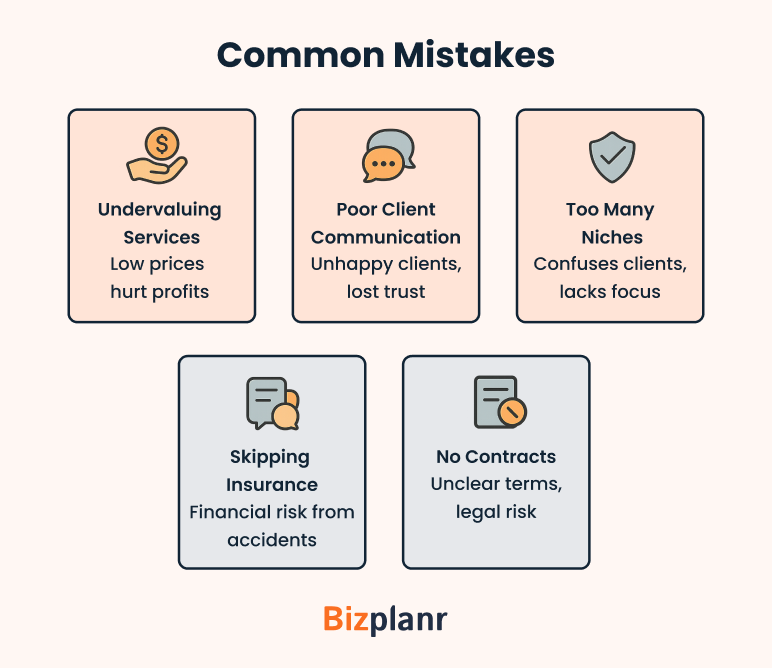
1) Undervaluing services
Many new photographers charge too little. Very low prices don’t cover costs and make your work look cheap.
Fix: See what others charge. Set fair prices. Make simple packages for clients.
2) No contracts
Without a contract, things can get messy. Clients may ask for more than you planned.
Fix: Always use a simple contract. Write what you'll give, how much it costs, and when clients will get their photos.
3) No insurance
Cameras and lenses cost a lot. If they break or something goes wrong at a shoot, you may lose a lot.
Fix: Get basic business insurance. It will protect your gear and save you from big losses.
4) Too many niches
Doing weddings, portraits, and products all at once makes your work look weak.
Fix: Pick one main niche. Grow skills there. Add more later.
5) Poor client communication
Not replying fast or missing updates makes clients unhappy. Even good photos won’t fix that.
Fix: Reply quickly. Confirm details. Deliver on time.
Mistakes happen, but avoiding these will save stress and help your business grow.
Final thoughts
Starting a photography business is a smart and possible goal. You don’t need the most costly gear—just passion, practice, and a simple plan. Pick your niche, learn your market, and set up your business the right way.
The most important thing is to give clients excellent service. Happy clients will come back, leave good reviews, and tell others about you. This is how your business will grow.
Remember, every successful photographer began small. With the right mindset and tools like Bizplanr.ai, you can plan better, stay on track, and turn your love for photos into a full-time job.
Now is the best time to begin. Your first client could be just around the corner.
Frequently Asked Questions
What do I need to start a photography business?
You need a camera, one good lens, and memory cards. A computer with editing software is also needed to edit photos. A tripod and some simple lighting will help, too. To get clients, you should have a small website or social media page to show your best work.
How much does it cost to start a photography business?
The cost depends on the gear you buy. A basic setup with a camera, lens, and editing software may cost around $2,000–$20,000. You can spend less if you rent equipment, buy second-hand, or upgrade later when you earn more.
Do I need formal training?
No, you don’t need a degree or formal training. Many photographers learn by practice, online videos, or short courses. Clients care more about your photos and service than about certificates.
How do I find my first clients?
Start with friends and family. Share your work on social media and tell people you’re open for shoots. You can also offer small discounts or a short free shoot to attract first clients. These simple marketing ideas can help you get the word out and build your first customer base.
What’s the best way to stand out in a crowded market?
Pick one type of photography, like weddings or portraits. Show only your best work and keep your style clear. Be kind, talk clearly with clients, and deliver photos on time. Good service will make you stand out.


